


The world is overrun with plastic jars and bottles that people discard, but there’s no need to be so wasteful with your plastic. Don’t throw them out! Instead, repurpose your plastic jars around the home with these fun craft projects. The kids will love creating these functional crafts, and you will never look at those old plastic jars the same way again!
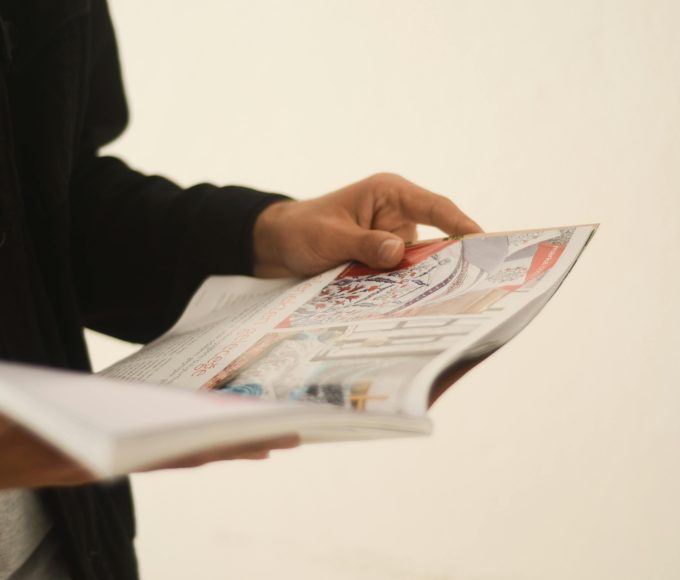
1) A Creative Newspaper and Magazine Stand
For this project, you will need:
A small number of single wall plastic jars (however many you have spare at home)
A long thin piece of wood as wide as your jars, at least 1″ thick and at least 3″ longer than the combined width of the jars
1″ thick nails
(Alternatively, to wall mount your stand, choose a bracket and screws instead of wood and nails)
This craft project is simple. First, decide if you want to decorate the jars or leave them plain. If you choose to decorate them, leave them to dry before mounting them to the board. Next, tack the jars to the base using nails (if creating a wood stand) or screws (if making a wall mount). Roll your newspapers and magazines up and you’ve got a nice way to keep those periodicals out of the way.
2) A Fun and Functional Bird House
For this project you will need:
A plastic jar of your choice (with lid)
Dowel (3″ x ¼”)
Paint
Glue
String (for hanging birdhouse)
Straw or dry grass (for inside birdhouse)
First up, draw a circle or square near the bottom of your plastic jar and cut it out using scissors or a knife. Secondly, slice a small X shape just below the opening and push the dowel through. Once the dowel is through the hole, add a few drops of glue to the end and push to the back wall of the jar. Next, drill a hole in the lid of the jar, push the string through and knot it. Close the jar and decorate. Add the straw to the bottom of the birdhouse and hang outdoors!
3) Plastic Halloween Lights
For this project you will need:
Plastic jars
A tealight candle for each jar
Scissors or a craft knife
Paint
This simple project requires very little. All you have to do is draw an outline of the design you want on your plastic jar, cut it out, paint it and secure a tealight candle inside. Less mess than pumpkins and just as fun to make!
4) Bottle Piggy Bank
For this project you will need:
One round plastic jar (with lid)
Four soda bottle caps
Scissors or a craft knife
Glue (hot glue preferred)
Decorations of your choice – paint, paper or fabric
Money!
To create this cute piggy bank, first you need to stop it from rolling around. The lid to the jar will serve as the “snout” so turn it on its side, then position the bottle caps (the “feet”) evenly around one side of the bottle and glue on. Next, carefully slice a rectangular slit in the top for coins. Decorate your piggy bank however you desire, but don’t forget to draw the snout on the lid. Finally, fill that little oinker with money!
5) The Perfect Mini-Greenhouse
For this project you will need:
One plastic jar of your choice (with lid)
A small flowerpot that will fit easily inside the jar
Potting soil
Seeds
Marker
Fill the flowerpot with soil and plant your seeds. Take the lid off your plastic jar and put the flowerpot on top of the upturned lid. Screw the plastic jar onto the lid and label the outside of the jar with what is inside. Put your planter in a sunny place and don’t forget to water it!
6) A Bird Feeder
For this project you will need:
One plastic jar of your choice (with lid)
Birdseed mix
1 packet of gelatin
Rope
Scissors or craft knife
Carefully cut the bottom off your plastic jar. Drill or punch a hole in the lid of your jar, large enough for the rope to come through. Next, spray the inside of the bottle with cooking oil, then slide the rope through the hole in the lid and screw the lid back on the jar. Pull the rope through the plastic jar, making sure there is at least 5″ coming out of the lid and 12″ free on the other side. Make the gelatin according to the instructions and then mix the gelatin and birdseed together bit-by-bit so the seed is coated and it starts to bind together, but don’t use too much because the birds won’t eat it. Make sure the rope is in the center of the jar and fill the mold with the seed/gelatin mix. Leave to set in the fridge for three hours and then leave out to dry for another two hours. Finally, carefully remove the jar and jar lid, knot the rope at the end of the seed and hang!
7) An Easy Garden Sprinkler
For this project you will need:
One plastic jar of your choice (preferably square)
Scissors or a craft knife
Garden hose
Hot glue gun and glue
First, cut or punch holes along the bottom edge of one side of the bottle. Next, cut a hole in the lid that is big enough for the hose to poke through but not too big that water will spill out. Finally, put the hose through the hole in the lid and glue into place with hot glue until it seals. Leave to dry and then turn on for summer sprinkler fun!
There you have it—seven amazing ways to reuse your plastic jars at home. Don’t be wasteful; get creative. It’s barrels of fun and it’s good for the environment!


